17 diciembre, 2020
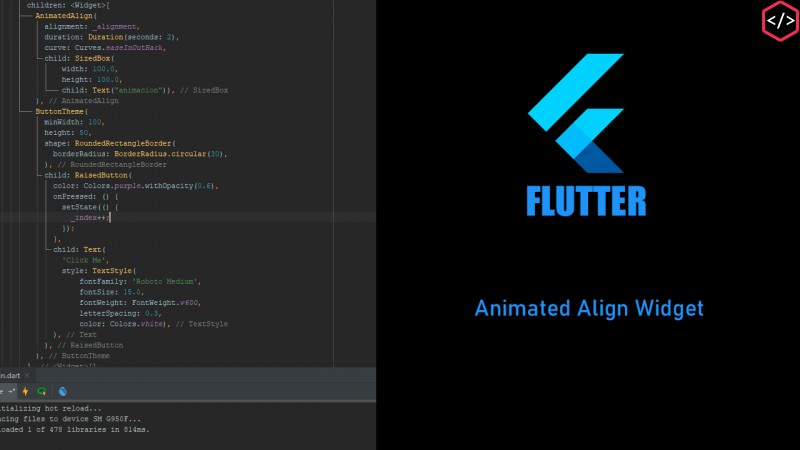
Animated Align Widget
En este artículo, explicaré una demostración del widget de alineación animada, puede modificar y experimentar una pequeña intro activada por un boton

Suscríbete a nuestro canal en Youtube
SuscríbirseWidget de alineación animado:
El widget de alineación animado alinea que coloca automáticamente la posición del niño en un período determinado en una alineación determinada. Y puede elegir un período con una curva para la animación. Y el widget animará la alineación con el nuevo objetivo.
Hablemos de algunos de los principales constructores del widget de alineación animado.
Este widget tiene 3 propiedades. que hacen este trabajo en toda nuestra animación. Como sigue.
- alineación (Alineación): donde inicialmente se coloca el widget secundario.
- curva (Curva): las curvas fáciles se utilizan para ajustar la tasa de cambios en la animación de la curva. Esto permite que la velocidad sea lenta y rápida. hay algunos tipos diferentes de opciones disponibles.
- duración (Duration): la Duración podemos decidir el tiempo que tarda un cambio de alineación según nosotros mismos.
import 'package:flutter/material.dart';

void main() => runApp(MyApp());

class MyApp extends StatelessWidget {
  // This widget is the root of your application.
  @override
  Widget build(BuildContext context) {
    return MaterialApp(
      title: 'Flutter Demo',
      theme: ThemeData(
        primarySwatch: Colors.blue,
      ),
      home: MyHomePage(title: 'Flutter Demo Home Page'),
    );
  }
}

class MyHomePage extends StatefulWidget {
  MyHomePage({Key key, this.title}) : super(key: key);

  final String title;

  @override
  _MyHomePageState createState() => _MyHomePageState();
}

class _MyHomePageState extends State<MyHomePage> {
  static const _alignments = [
    // Alignment.topLeft,
    Alignment.topRight,
    Alignment.bottomLeft,
    //   Alignment.bottomRight,
  ];

  var _index = 0;

  AlignmentGeometry get _alignment => _alignments[_index % _alignments.length];

  @override
  Widget build(BuildContext context) {
    return Scaffold(
      appBar: AppBar(
        elevation: 0.0,
        backgroundColor: Colors.white,
        title: Text(
          'Animated Align',
          style: TextStyle(
            color: Colors.black,
          ),
        ),
        centerTitle: true,
      ),
      body: Container(
        padding: EdgeInsets.all(15),
        child: Stack(
          alignment: Alignment.bottomCenter,
          children: <Widget>[
            AnimatedAlign(
              alignment: _alignment,
              duration: Duration(seconds: 2),
              curve: Curves.easeInOutBack,
              child: SizedBox(
                  width: 100.0,
                  height: 100.0,
                  child: Text("animacion")),
            ),
            ButtonTheme(
              minWidth: 100,
              height: 50,
              shape: RoundedRectangleBorder(
                borderRadius: BorderRadius.circular(30),
              ),
              child: RaisedButton(
                color: Colors.purple.withOpacity(0.6),
                onPressed: () {
                  setState(() {
                    _index++;
                  });
                },
                child: Text(
                  'Click Me',
                  style: TextStyle(
                      fontFamily: 'Roboto Medium',
                      fontSize: 15.0,
                      fontWeight: FontWeight.w600,
                      letterSpacing: 0.3,
                      color: Colors.white),
                ),
              ),
            ),
          ],
        ),
      ),
    );
  }
}
a
Leido 2449 veces


